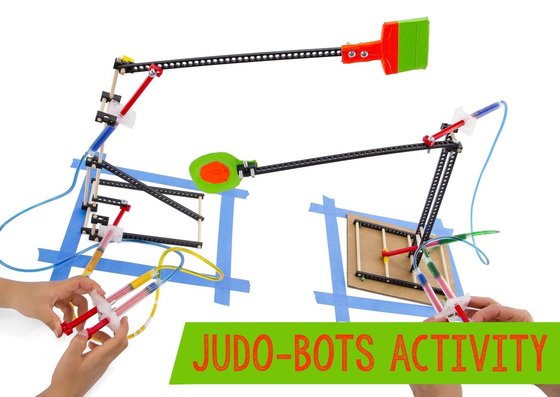
 This week, we start another 3 week lesson series - building a judo bot. In this lesson series, we are going to help the students to build their own judo bot. Judo bot utilize the hydraulic system we are going to construct as power to drive the arms of it. We will build the robot craft cubes and craft sticks as the skeleton. The hydraulic system will be constructed with syringes. There will be six steps to build up the whole Judo Bot. 1. Building the base. The base are restricted up to a 10 inch square. 2. Building the stand. 3. Building the arm and the wedge. 4. Assembling the robot. 5. Constructing the Hydraulic systems. 6. Attaching the pistons. We will finish step 1, 2 in the first week. Second week will be aiming at finishing step 3 and 4 along with trouble shooting the robot itself. The last week will finish the rest of the building work and take them to battle ground is time permitted.
0 Comments
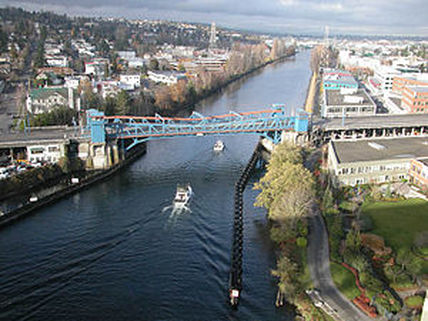 Starting from this week we are going into a 3 weeks series of teaching the students how to build a bridge. There are some basic requirements for building our bridge: 1. The construction shall not use more than 50 popsicle sticks; 2. The bridge should span at least 12 inches; 3. The width of the bridge should allow a tennis ball to row over it easily; 4. There should be a stable flat surface on it allowing cookie sheets to lay on for testing purpose; 5. The bridge should be able to take as much weight as possible. In this week's lesson, we are going to initiate the building process. The key question to ask is: 1. Purpose of building a bridge; 2. Common features of a bridge; 3. Destructive events for a bridge and precautions accordingly. Next, we are going to distribute the materials to the students and start the design process. The students shall draw their design before the actual construction. After the design is completed, we will help the students to build their bridge and label them for next week's tests.
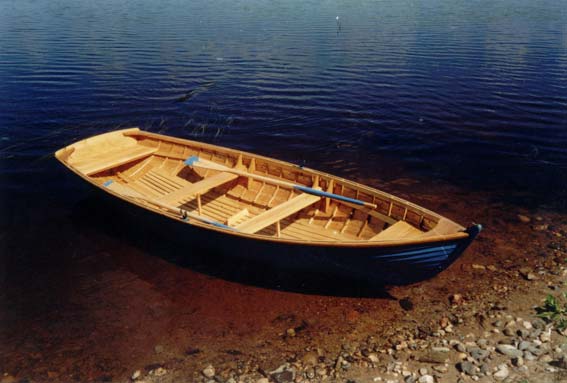 In this lesson, we are going to introduce the students with how to build their own boat. First of all, we are going to explore the idea of floating by the Intro-activity of foiled by density. In this part, we are going to present the relationship between density and floating. Second, we are going to design the boat with the students. Next, we are going to build and test the boat the students design by adding weights onto it. Last but not the least, if there is any extra time, we are going to redesign the boat correcting the deficiencies in the previous design.
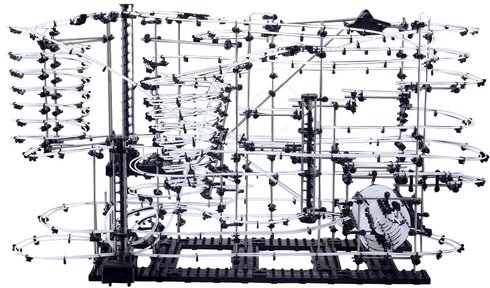 This week, we are going to help the student to build their own marble roller coaster as well as introduce them to the engineering knowledge behind a well designed marble roller coasters. We are going to explore the topic by 2 parts of activities: 1. Physics concepts. We are going to introduce the student to the idea of energy conversion between kinetic energy and potential energy as well as the concept of momentum and speed. 2. Marble Roller Coaster Construction. In this part, we are going to help the students to actually build the marble roller coaster. Through the process of designing the roller coaster and validating them, the students will have a stronger understanding of the physics behind the roller coaster.
|
|||||||||||||||
